Manual contents
User manual
Start from the Lock Screen
Add a Lock Screen widget to open the app or start recording.
Opening the app vs. starting recording
- WayLog Boot
- Opens the app. Use the red circle in the app to start recording.
- Record with WayLog
- Opens the app and proceeds to recording. Complete initial setup and location permissions first.
Choose Record with WayLog if you want to record before each trip, or WayLog Boot if you want to open the app and operate it yourself.
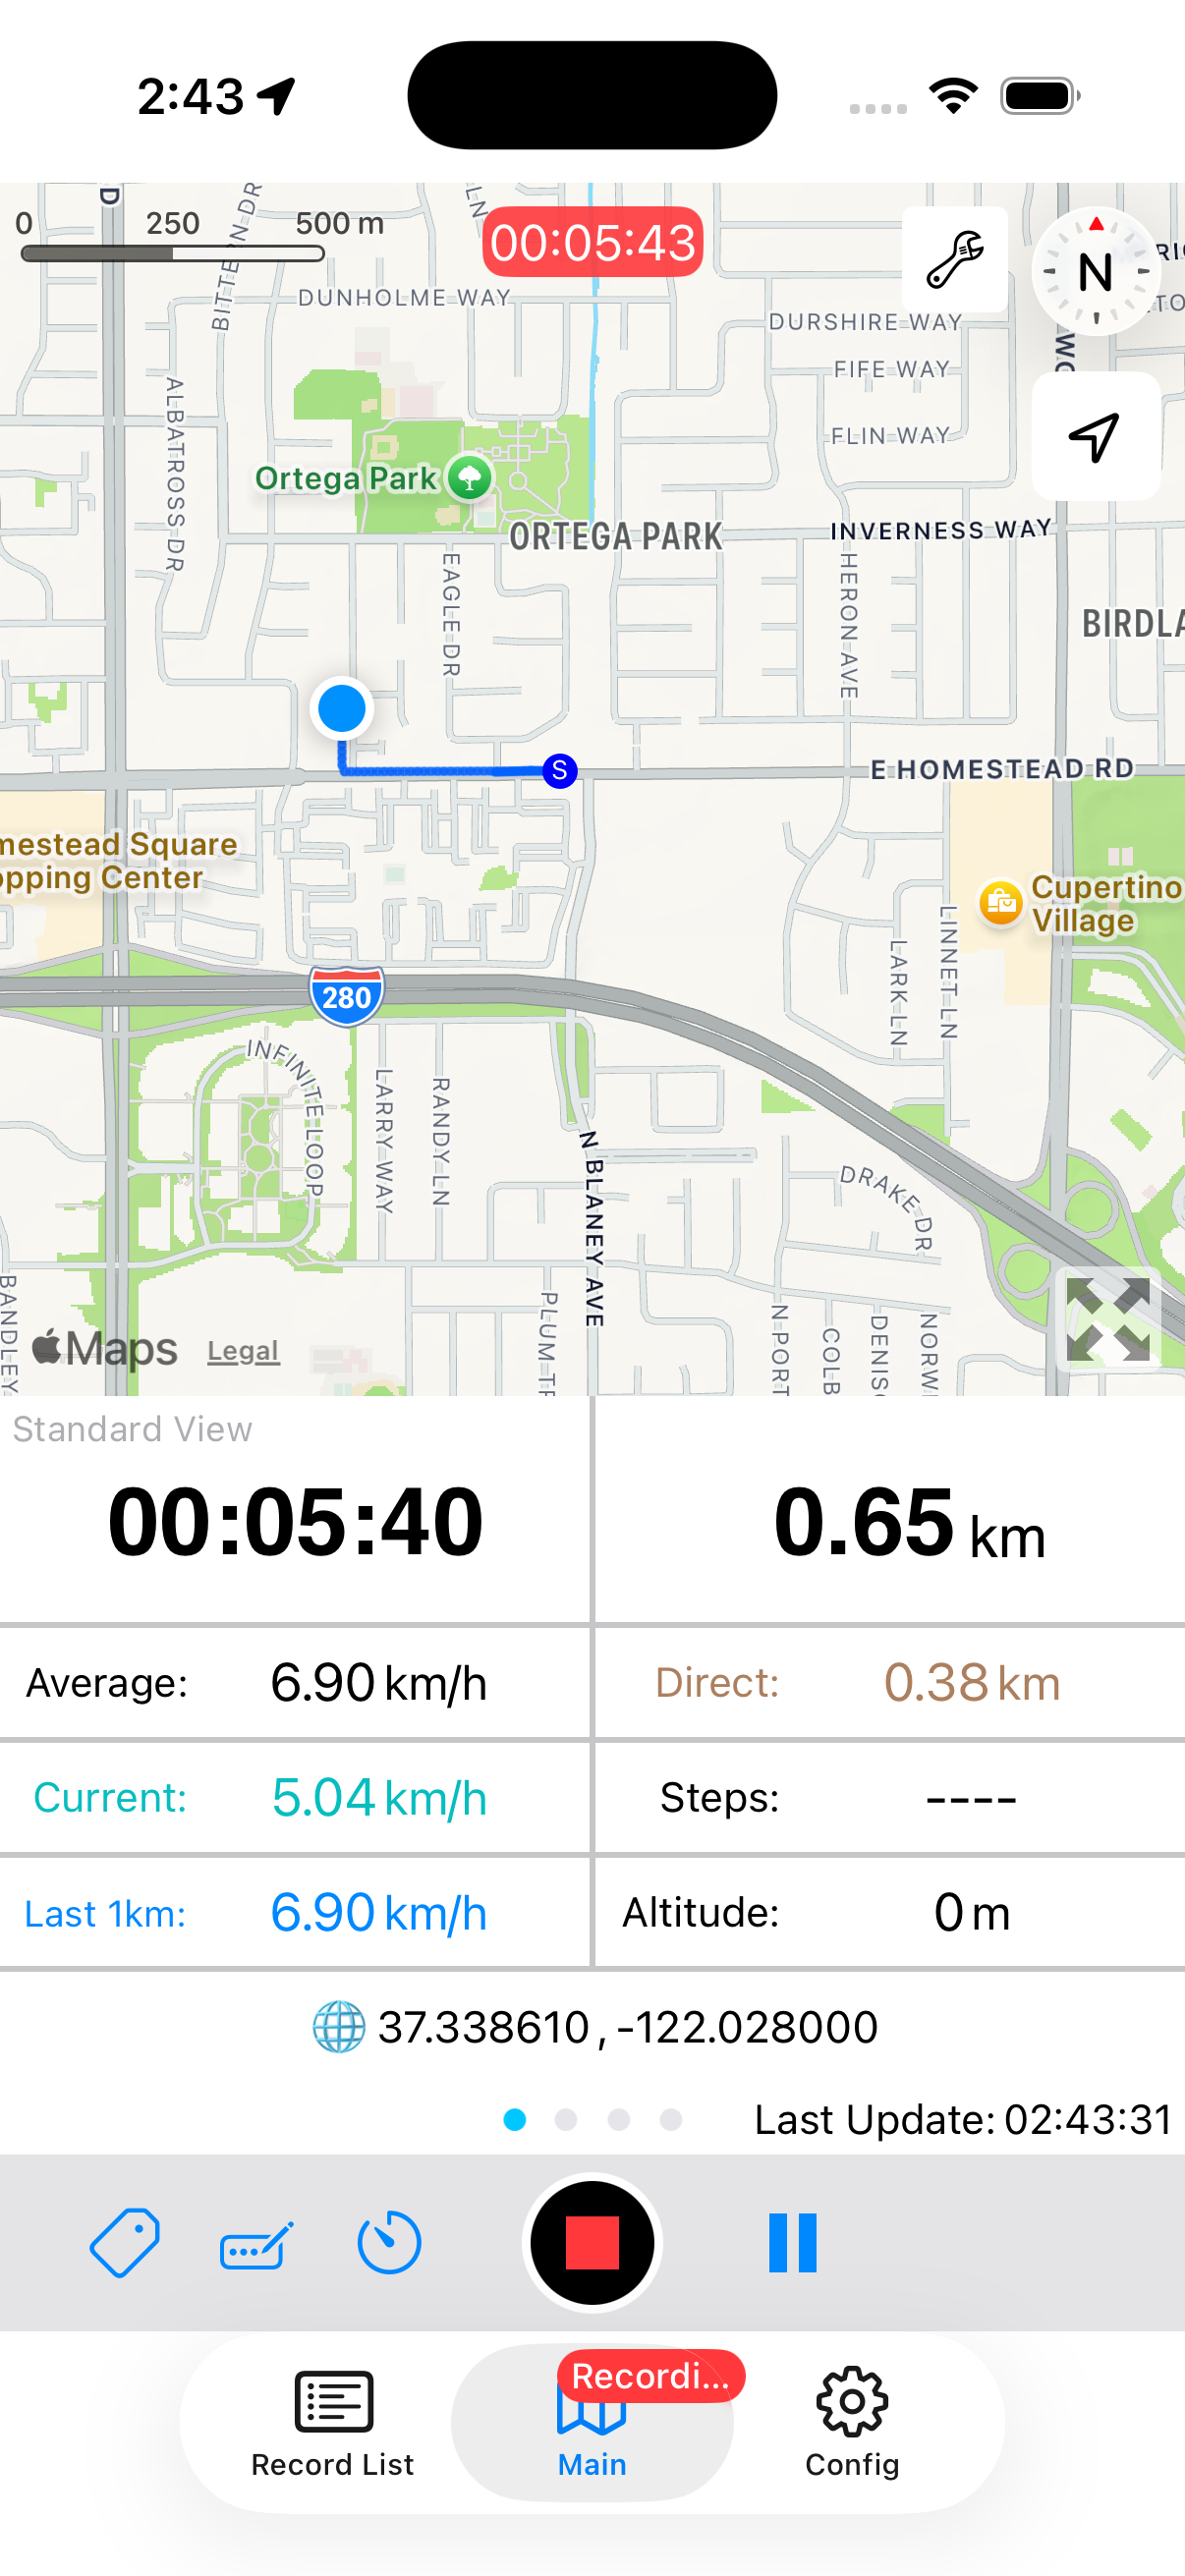
Live Activities display information on the Lock Screen during recording. They are separate from widgets used to start a recording. Information during recording is explained here, too.
Add a Lock Screen widget
- Touch and hold the Lock Screen, unlocking it if needed.
- Choose Customize, then Lock Screen for the screen you want to edit.
- Below the clock, tap Add Widgets.
- Choose WayLog from the app list.
- Add the widget for launching WayLog or recording with WayLog.
- Close the selection panel and tap Done to save.
Controls and wording vary with the OS version. You can also check Apple's widget guide for Lock Screen instructions.
Test it with a short record
Tap the added widget. Once the app opens, check the recording status and elapsed time to confirm recording has begun. If not, tap the red circle on Main.
Adding a widget does not start recording by itself. Stop with the app's red square when finished. See Start and stop recording for details.
Open WayLog once and complete initial setup, then check again. Also check space for the widget and OS and app compatibility.